
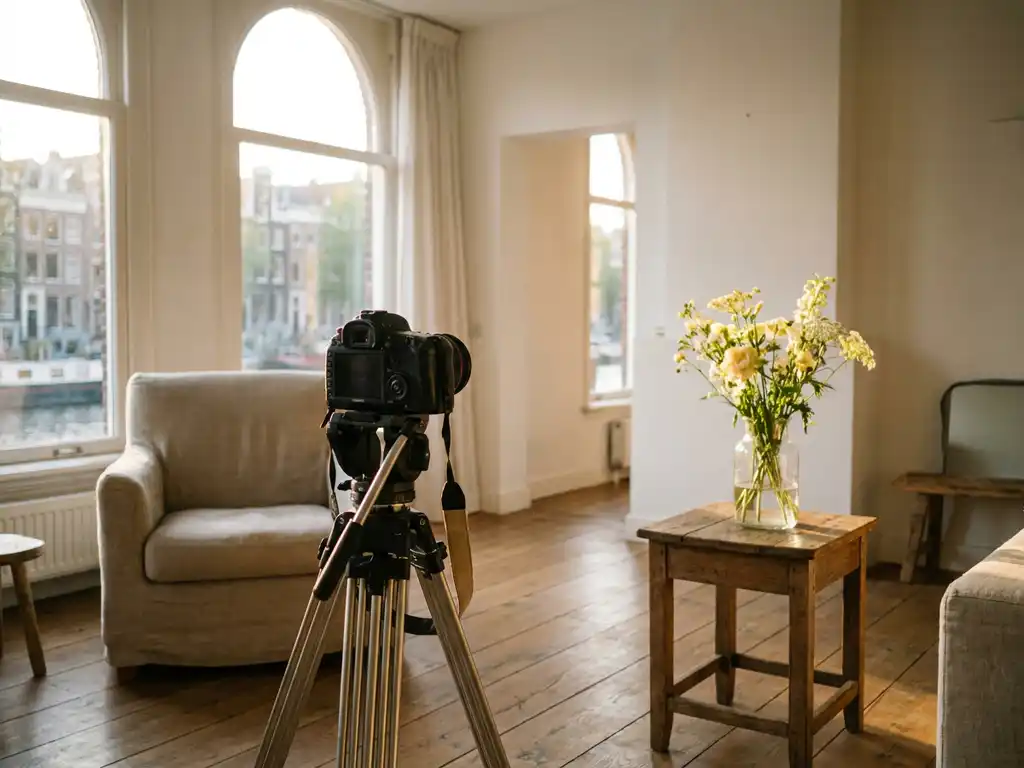
Good real estate photos of your home start with plenty of light, a tidy space, and a steady camera or smartphone with a wide-angle lens. The quality of your photos directly affects how many potential buyers click on your listing. In this article, we answer the most frequently asked questions about real estate photography so your home looks its very best.
What equipment do you need for real estate photography?
For real estate photography, you need at least a camera or smartphone with a wide-angle lens, a tripod, and ideally an external flash or additional light source. With this basic setup, you can already produce photos that look professional. A tripod is not a luxury — it prevents motion blur and ensures consistent framing throughout the home.
If you want to take it a step further, here is the most useful equipment for real estate photography:
- Wide-angle lens (16–24mm): captures more of a room and gives spaces an open, airy feel
- Tripod: essential for sharp photos in low light and for consistent composition
- External flash or LED panel: fills in dark corners without creating harsh shadows
- Drone (optional): useful for homes with a garden, distinctive roofline, or notable surroundings
- Recent smartphone with night mode: a solid alternative if you don’t have a DSLR or mirrorless camera
If you don’t have a professional camera, a modern smartphone can deliver excellent results. Just make sure to enable HDR mode so that both bright and dark areas of a room are clearly visible in the photo.
How do you prepare a home for a photo shoot?
Prepare a home for a photo shoot by tidying every room, removing personal belongings, and creating a neutral, welcoming atmosphere. Preparation has at least as much impact on the final result as the equipment you use. A cluttered room always photographs poorly, regardless of your camera’s quality.
Follow these steps for thorough preparation:
- Declutter and depersonalize: remove family photos, overstuffed bookshelves, and personal items
- Clean everything: mirrors, windows, and countertops must be spotless in the photos
- Add small decorative touches: think fresh flowers, a candle, or a neatly arranged fruit bowl
- Check the lighting: replace burned-out bulbs and make sure all fixtures use the same color temperature
- Tidy the exterior: sweep the patio, trim overhanging branches, and move trash cans out of sight
A good rule of thumb: if you’re unsure whether something should appear in the photo, remove it. In real estate photography, less is almost always more.
What is the best time to photograph a home?
The best time to photograph a home is during the day, in bright but overcast weather. Cloud cover diffuses daylight evenly and prevents harsh shadows and overexposed windows. For homes with plenty of natural light or an attractive garden, the golden hour — shortly after sunrise or before sunset — is an excellent choice for exterior shots.
When scheduling the photo shoot, take the home’s orientation into account. If the living room faces south, morning is ideal for shooting before the sun becomes too intense through the windows. If the front facade faces north, an overcast afternoon provides the best light. Take the time to assess this in advance — choosing the right moment costs nothing but delivers noticeably better photos.
Which rooms are the most important to photograph?
The living room, kitchen, master bedroom, and bathroom are the four spaces that have the greatest influence on potential buyers. These rooms largely determine a home’s first impression. Don’t overlook the exterior either — an appealing photo of the facade or garden draws visitors to the listing.
Here is a handy priority list for real estate photography:
- Living room: the central space — shoot from a corner to maximize depth
- Kitchen: keep the countertop clear and remove any appliances that don’t contribute to the overall feel
- Master bedroom: neatly made bed, neutral colors, and no clothing in frame
- Bathroom: put away toiletries, fold towels neatly, and close the toilet lid
- Facade and garden: the first photo buyers see in a search overview
- Additional spaces: a home office, utility room, or storage area if they clearly add value
Photograph each room from multiple angles and select the best images afterward. This gives you full control over what ultimately appears in the listing.
How do you edit real estate photos for a professional result?
Edit real estate photos for a professional result by correcting the exposure, adjusting the white balance, and straightening vertical lines. Subtle post-processing makes a significant difference — photos look sharper and more inviting without appearing artificial or over-edited.
The most useful editing steps are:
- Exposure and contrast: slightly increase exposure and reduce shadows to retain detail
- White balance: correct any yellow or blue color cast so rooms look natural
- Perspective correction: straighten skewed vertical lines so walls and door frames look clean and upright
- Sharpening: apply subtle sharpening to bring out more detail in textures
- Color tone: slightly boost saturation, but don’t overdo it
Free tools such as Lightroom Mobile, Snapseed, or Google Photos offer plenty of options for basic editing. If you want more control, Adobe Lightroom or Photoshop gives you greater command over the final result. Always save photos at high resolution for use on real estate platforms.
When is it better to hire a professional real estate photographer?
Hiring a professional real estate photographer makes sense when you are selling a home above the average market value, when the property features distinctive architecture or a large garden, or when you don’t have the time or equipment to produce quality photos yourself. Professional photos increase the likelihood that a home will sell quickly and at a strong price.
Consider hiring a professional in these situations:
- The home has distinctive features that are difficult to capture, such as high ceilings, skylights, or a notable view
- You also want to offer drone footage or a virtual tour
- The home has been on the market for a while and the current photos aren’t attracting enough interest
- You are selling in a competitive market where presentation makes all the difference
In most cases, the cost of a professional photo shoot is outweighed by the added value that great images deliver. A home that looks good in photos attracts more viewings, and more viewings increase the chances of achieving a better sale price.
How we help you sell your home
At Urban Homies, we understand that the presentation of a home has a direct impact on the sale outcome. That is why we take care of photography and the complete marketing strategy as part of our sales guidance service. Here is what we handle for you:
- Professional photography that shows your home at its very best
- Valuation and market research so your home is positioned at the right price
- A tailored listing that speaks directly to the target audience for your home
- End-to-end support, from the initial strategy discussion to signing at the notary
Ready to sell your home and want to find out what we can do for you? Get in touch and we will explore the possibilities together.